It’s time to go Scalextric Pro (previously Scalextric Digital)
Top tips

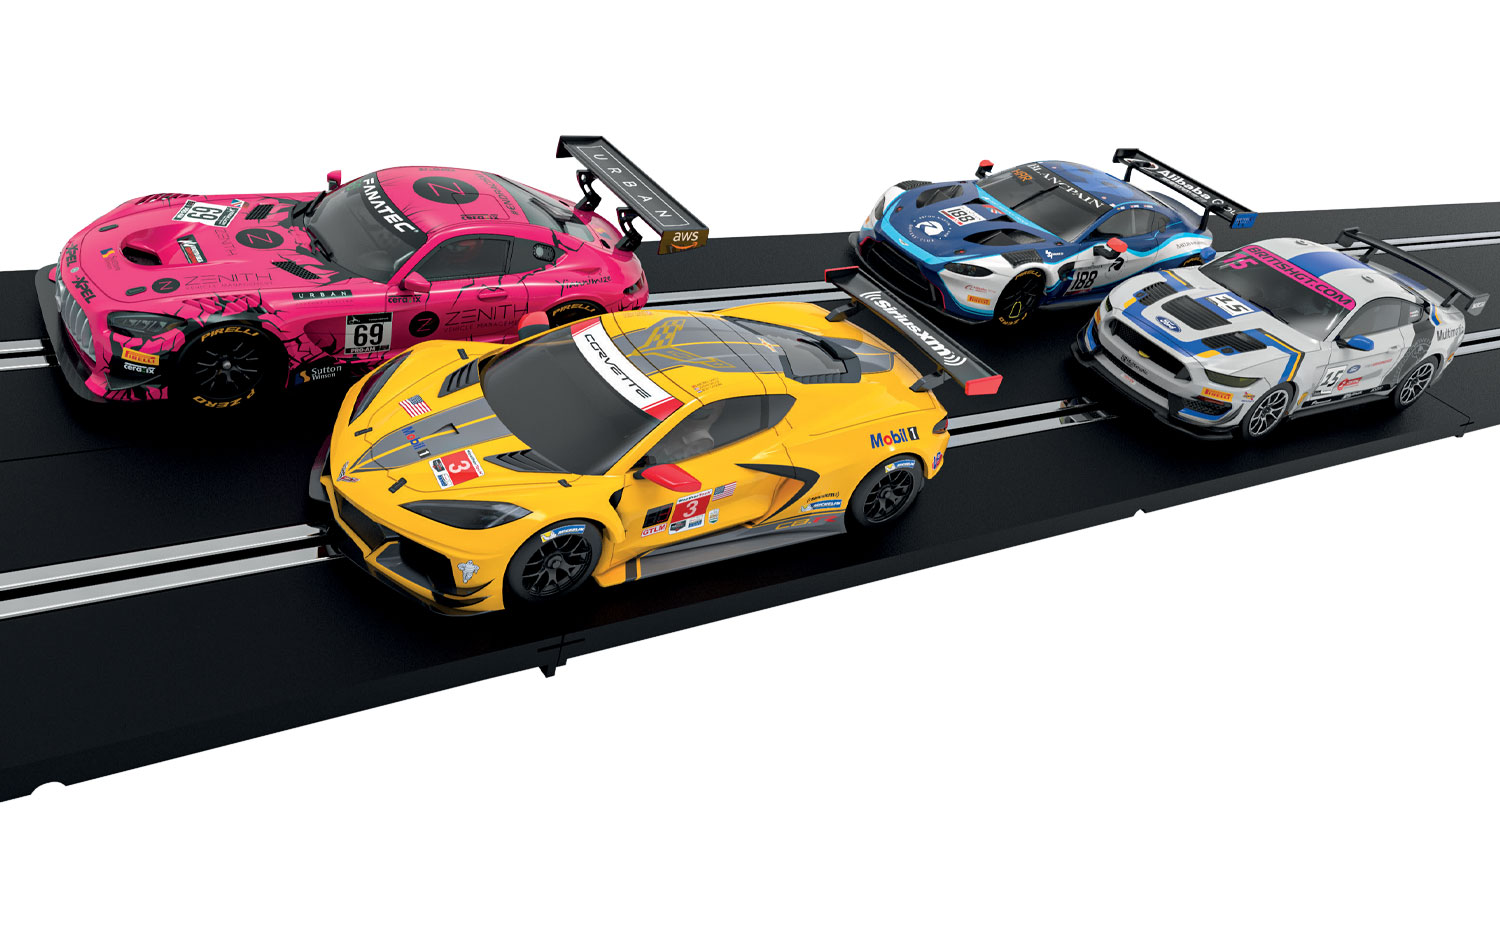
If you’ve been racing a while and you’re ready to upgrade your Scalextric layout to something more challenging, Scalextric Pro is the system for you. Previously known as Scalextric Digital, this is the same system, with a punchy new name.
While it still feels like traditional slot car racing, Scalextric Pro gives you the chance to be even more strategic with your racing – your competitors won’t know what’s hit them!
What is Scalextric Pro?
Our Pro slot car system works just like traditional layouts – you control your digital slot cars using a controller, guiding them around a slot car track. But there are added benefits, such as lane-changing, the ability to race more than two cars, and fun game features. Get ready to take your strategic gameplay to the next level, overtaking your competitors, blocking their progress and taking tactical pit stops as needed.
How does Scalextric Pro work?
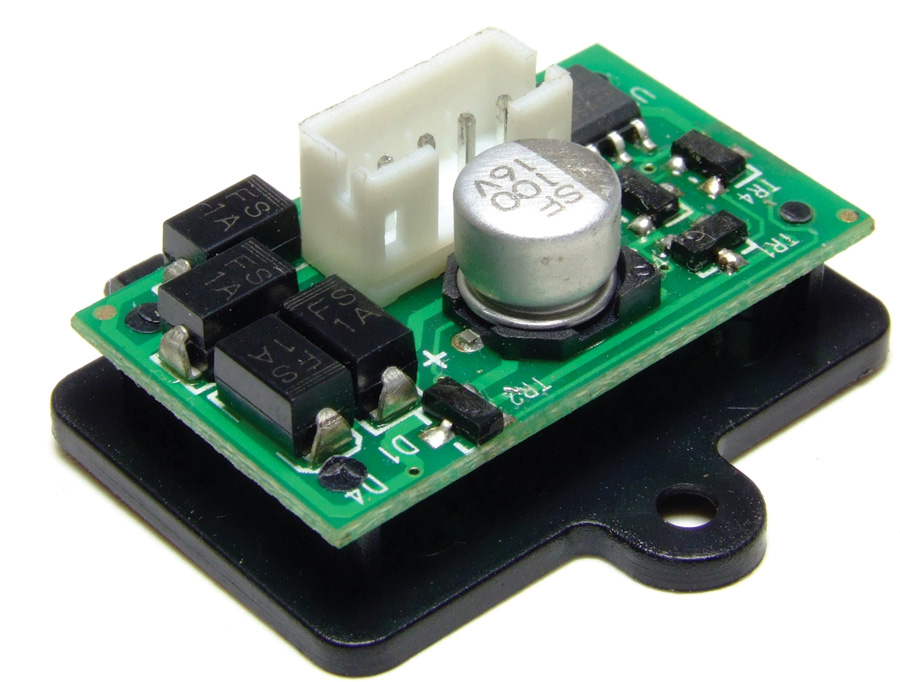
Nearly all of our cars are fitted with a plug you can access through the floor pan. We call this digital plug ready (DPR) and it means you can easily fit a digital chip that allows you to use the car on Pro circuits.
The chip in the car connects to a sensor in the track so you can control each digital slot car independently, even if they’re in the same lane.
Note: Digital cars can run on analogue track, but analogue cars won’t run on digital tracks. However, the newer Pro powerbases have a switch on them so you can convert your track to allow both styles of racing.
How to set up your Scalextric Pro track
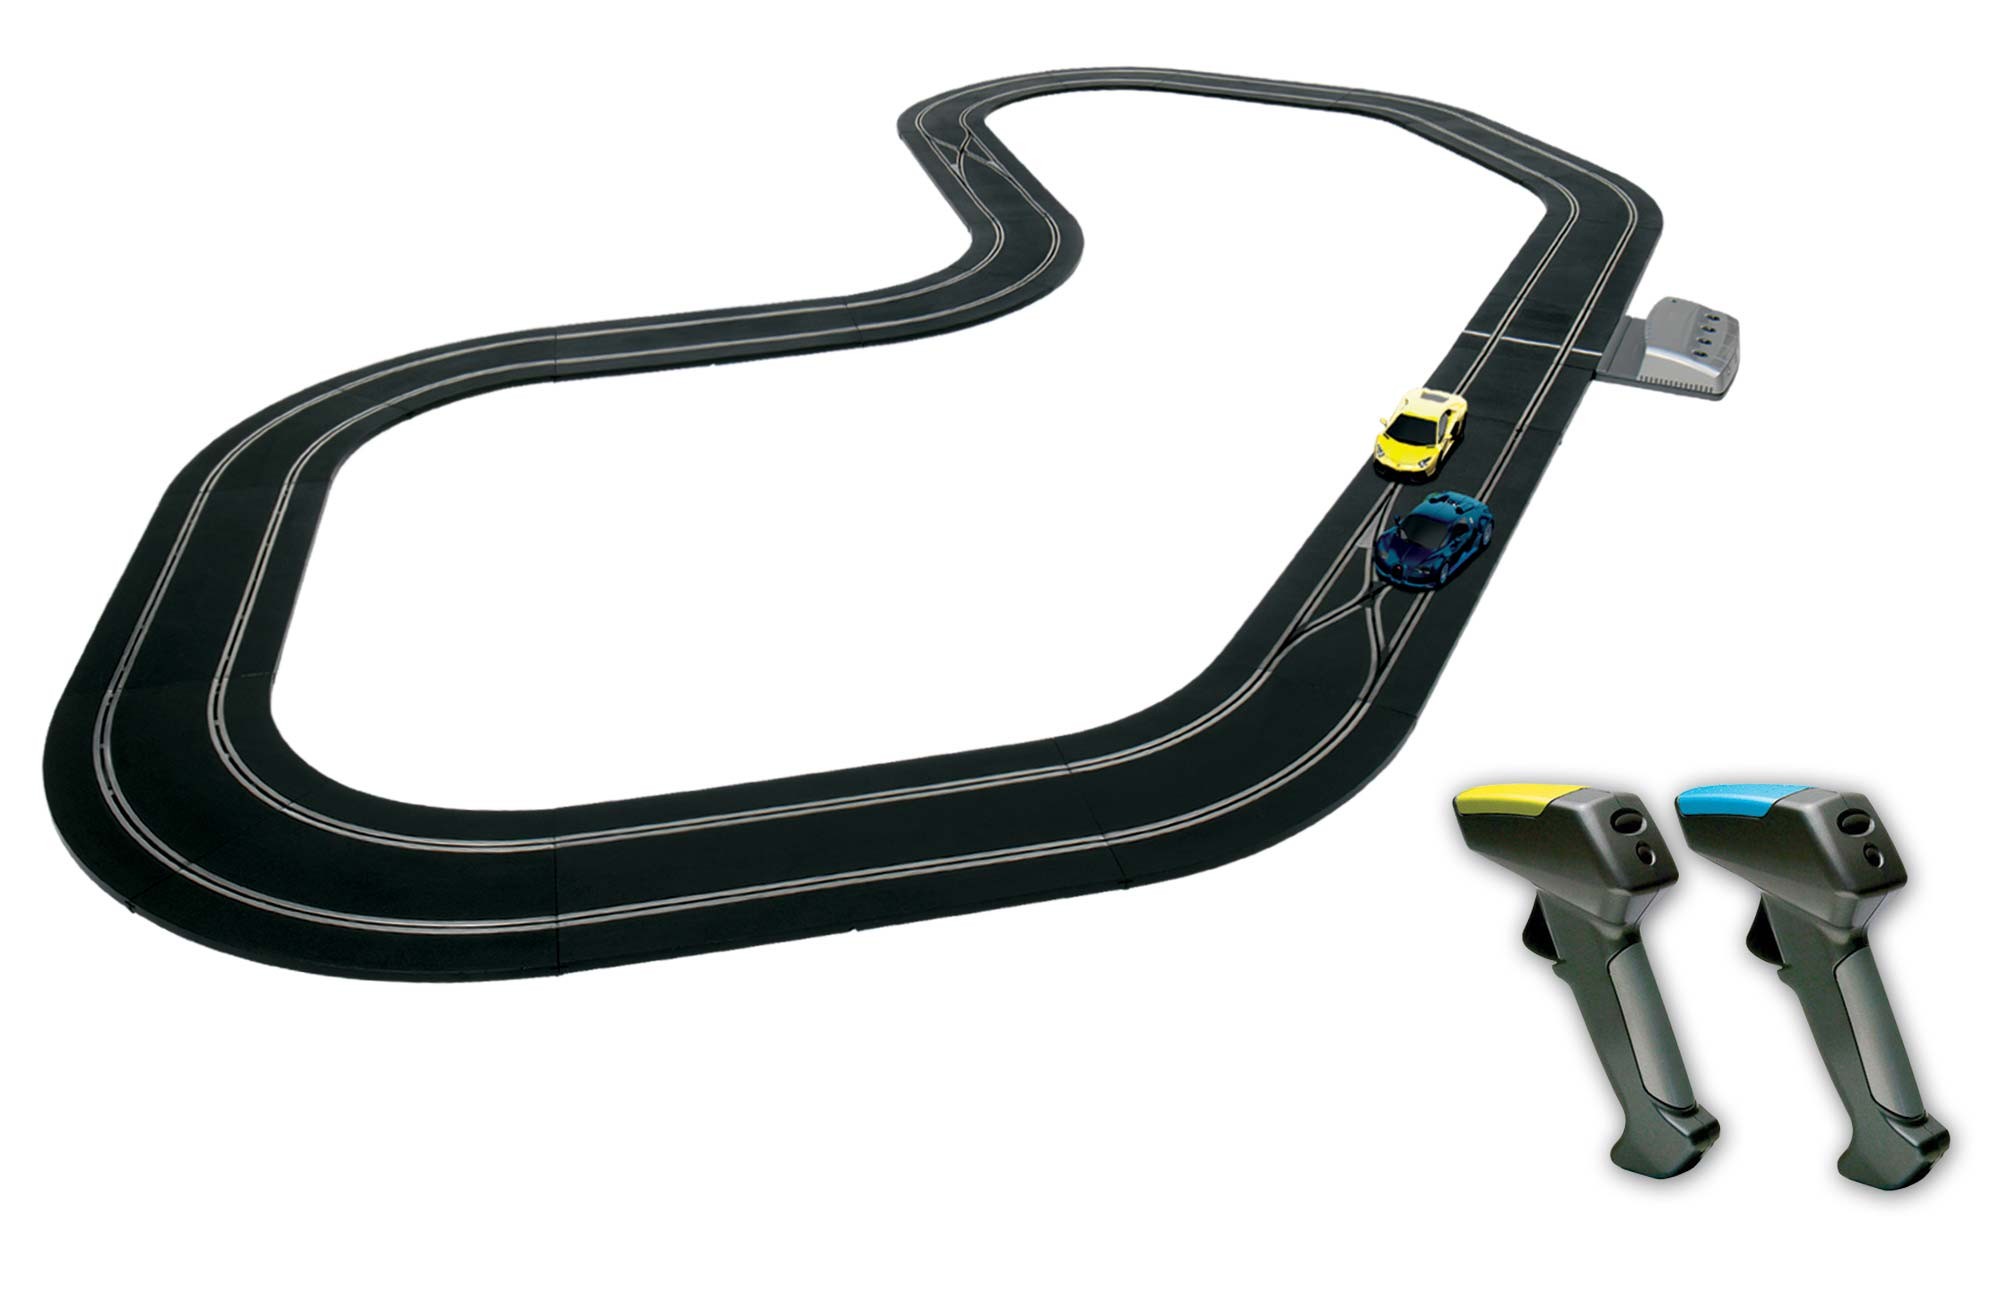
Assembling your Pro track works in exactly the same way as an analogue one. The main difference is the type of powerbase you use.
You then connect your controllers to the powerbase and sync each car as shown in the video below. You are ready to race!
Is there a limit to the number of lanes?
There is no maximum limit to the number of lanes in your Pro circuit but you do need at least two. Use the pit lane changer track piece to grow more lanes and expand sideways as far as required.
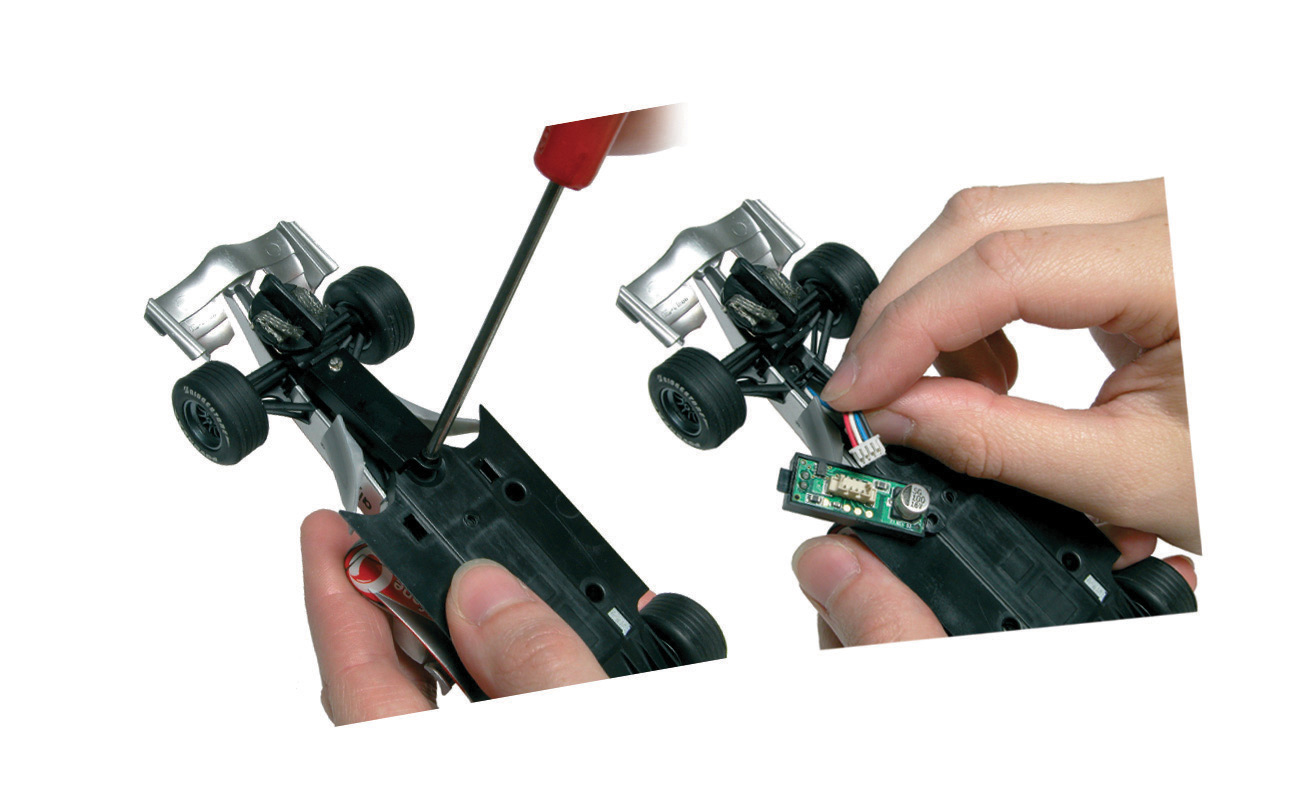
Fitting a digital chip
This is a simple process that takes less than a minute to do – once you know what you’re doing.
Step 1: Use a small screwdriver to unscrew the blank DPR plate on the base of the slot car.
Step 2: When unscrewed, you’ll notice it is attached to a wiring loom. You can gently pull this out of the plate.
Step 3: Because of the position of the chip, the DPR plug connects slightly differently. Locate the white connector on the chip and gently push the wires into place.
Step 4: Place the new plate into the space left by the old blank plate. It only fits one way round and should slot into position without forcing.
Step 5: Put the screw back into place and secure with your screwdriver.
Step 6: Configure your car with your controller of choice.
Top tips for Scalextric Pro
- Only use a Pro powerbase and power supplies provided.
- Only one powerbase per circuit - this acts as your lap counter too.
- You can connect multiple power supplies to your Pro powerbase to get more power (recommended for four or more slot cars).
Configuration rules in analogue mode
- Ensure lanes one and two of the powerbase are not linked in the configuration of the circuit layout.
- Ensure a crossover, like the racing curve, doesn’t cause lanes one and two to come together.
- Ensure the pit lane change track pieces do not cause lane one and two to merge together.
- Ensure an even number of racing curves and crossovers per track.
How to set up your Scalextric Digital set
How to set a Scalextric Digital car ID
Discover Scalextric Pro
Upgrade your Scalextric layout with Scalextric Pro. Digital slot cars, lane-changing, multiple cars, and strategic racing for enthusiasts.
Are you ready to go Scalextric Pro?